
KIS Summary:
- Step-by-step guide on how to download and set up Anki.
- Provides instructions on how to create decks, sub-decks, and cards to get you started.
- Contains extra tips and add-ons that helps make Anki a more effective study tool.
⭐️ Why Parents & Students Love KIS Tutoring
We wrote an article a while back on three apps that, if used correctly, can undoubtedly help to improve your ATAR. One of those apps we recommend is Anki, a free, open-source flashcard program which has taken over the medical student study landscape by storm. Many of our KIS academics team can advocate for how effective Anki is in solidifying knowledge (our very own CEO, Manoj Arachige included!), so we wanted to share this resource with you.
Table of Content:
- What is Anki?
- How to Get started on Anki?
- How to Use Anki?
- What are some Useful Add-Ons?
- How to Start your study Session on Anki?
- FAQs
What is Anki?
On the surface, Anki seems like a relatively straightforward program. It uses spaced repetition, a technique that has scientifically been proven to foster fast and long-lasting memorisation. Essentially, it works. Really well. However, the Anki interface can definitely take some time to familiarise yourself with, and there are certainly better ways than others to utilise the program.
That’s why we’ve put together this introductory guide on how you can get the most out of Anki for your personal studies, so that you can avoid all the common pitfalls and learning curves that we’ve all experienced in the past!
How to Get started on Anki?
Download Anki
You can download Anki for Windows, Mac, Apple or Android on the Anki website.
We’d recommend that you only download Anki for your computer, mainly because it’s free, and it’s perfectly sufficient for all your study uses.
If you have an Android device, you can also get AnkiDroid Flashcards for free. If you’re deep into the Apple family though, you can purchase the AnkiMobile app for $38.99 on the Apple App Store.
Create an account
We recommend creating an Anki account, to utilise the free AnkiWeb synchronisation services. It is kind of like ‘iCloud’, and will mean that you can sync your cards across different devices (if you do end up downloading the mobile app too)

How to Use Anki?
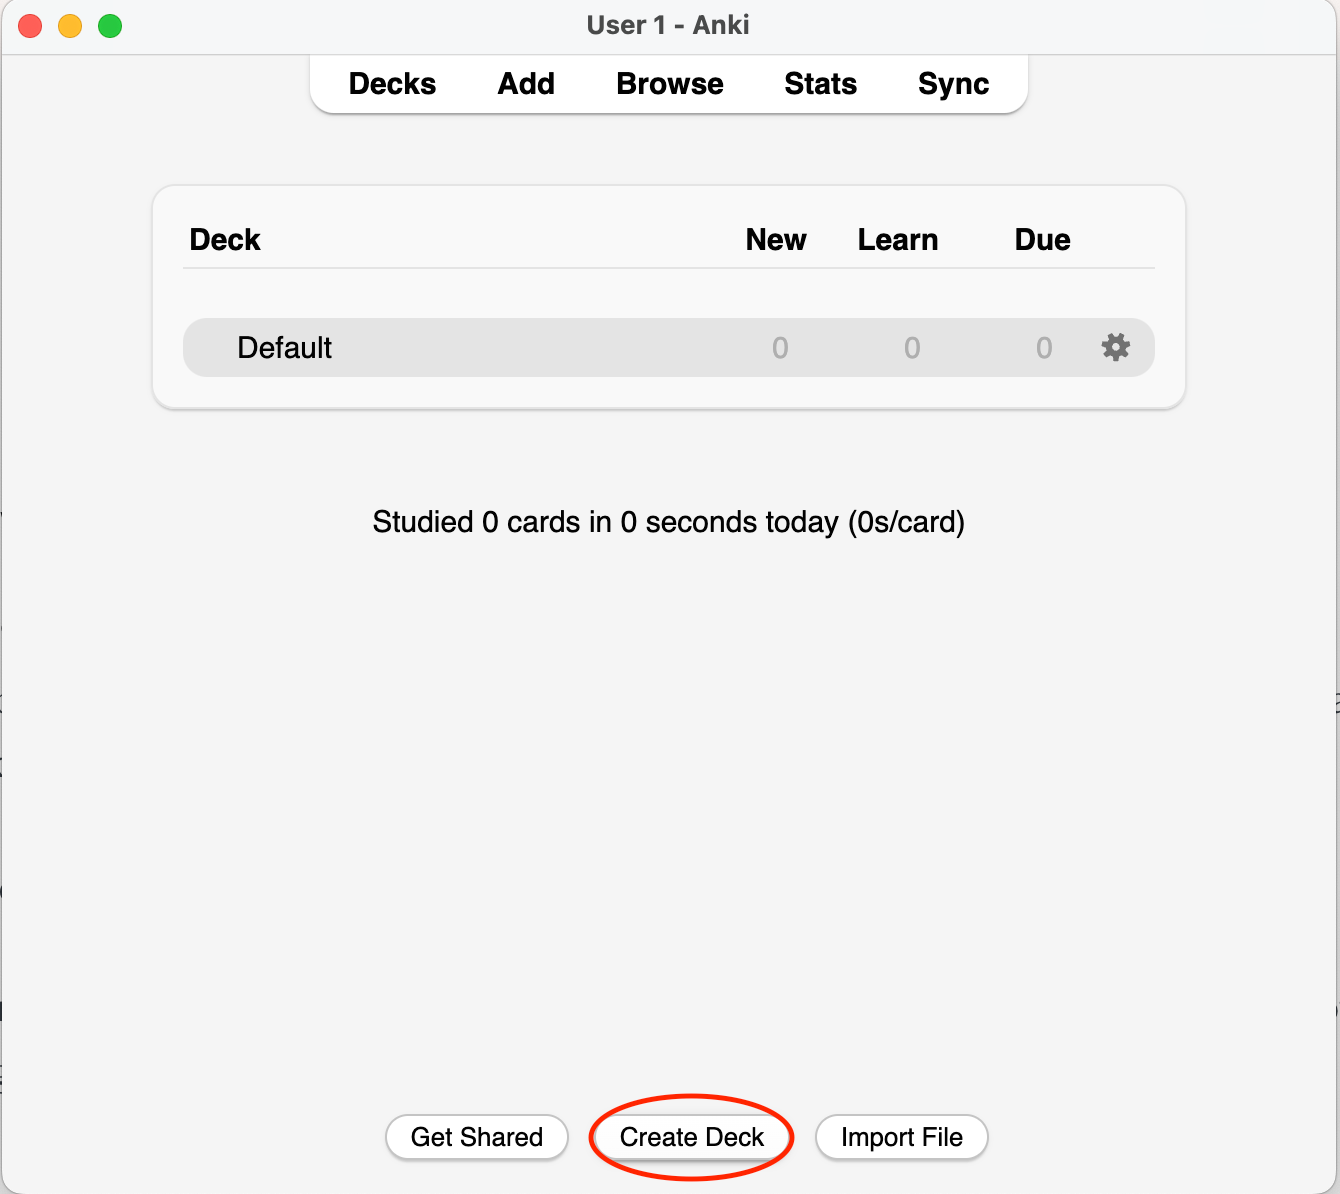
Create a Deck
The basic way of organising your flashcards is into ‘Decks’. To do this, click ‘Create Deck’ at the bottom of your Anki application home page:
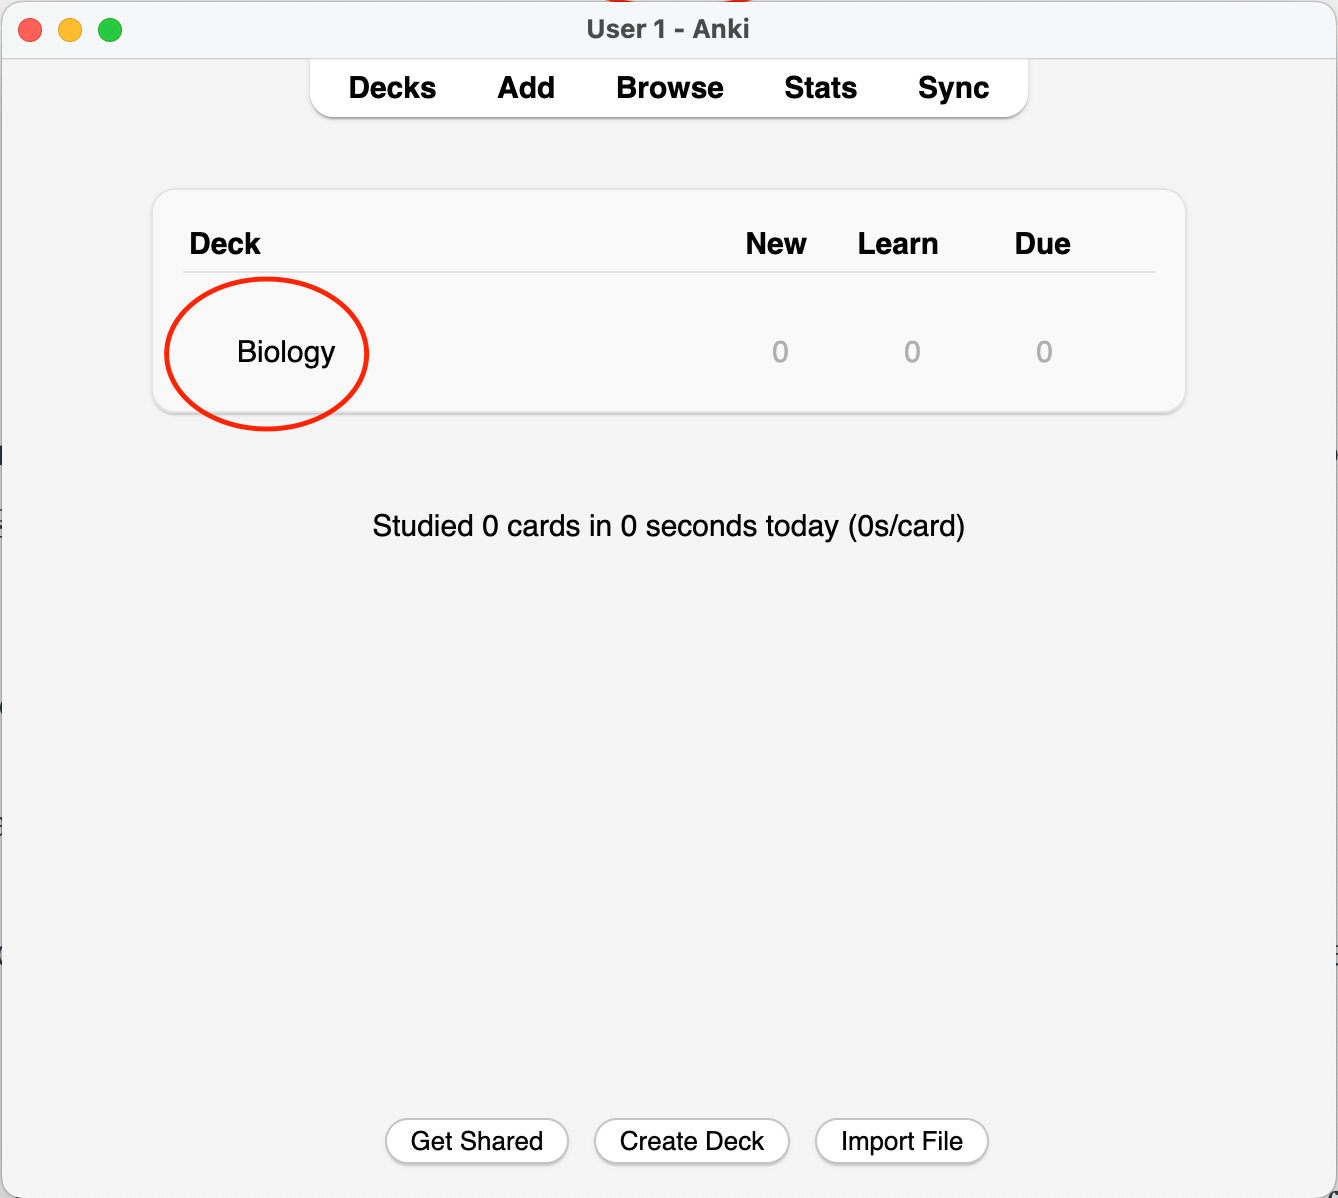
You might consider organising your decks based on subjects. For the purposes of this guide, let’s create a deck called ‘Biology’:
Create Sub-Decks
You can also organise sub-decks within the decks. This is a little bit less intuitive than creating a deck, but here’s how to do it.
- Click ‘Create Deck’, and include the name of the deck you want the sub-deck to fall under, followed by 2 colons, e.g. [Deck]::[Sub-Deck].
- As an example, this is how we would create a new ‘Immunity’ topic for the Biology deck that we created above.
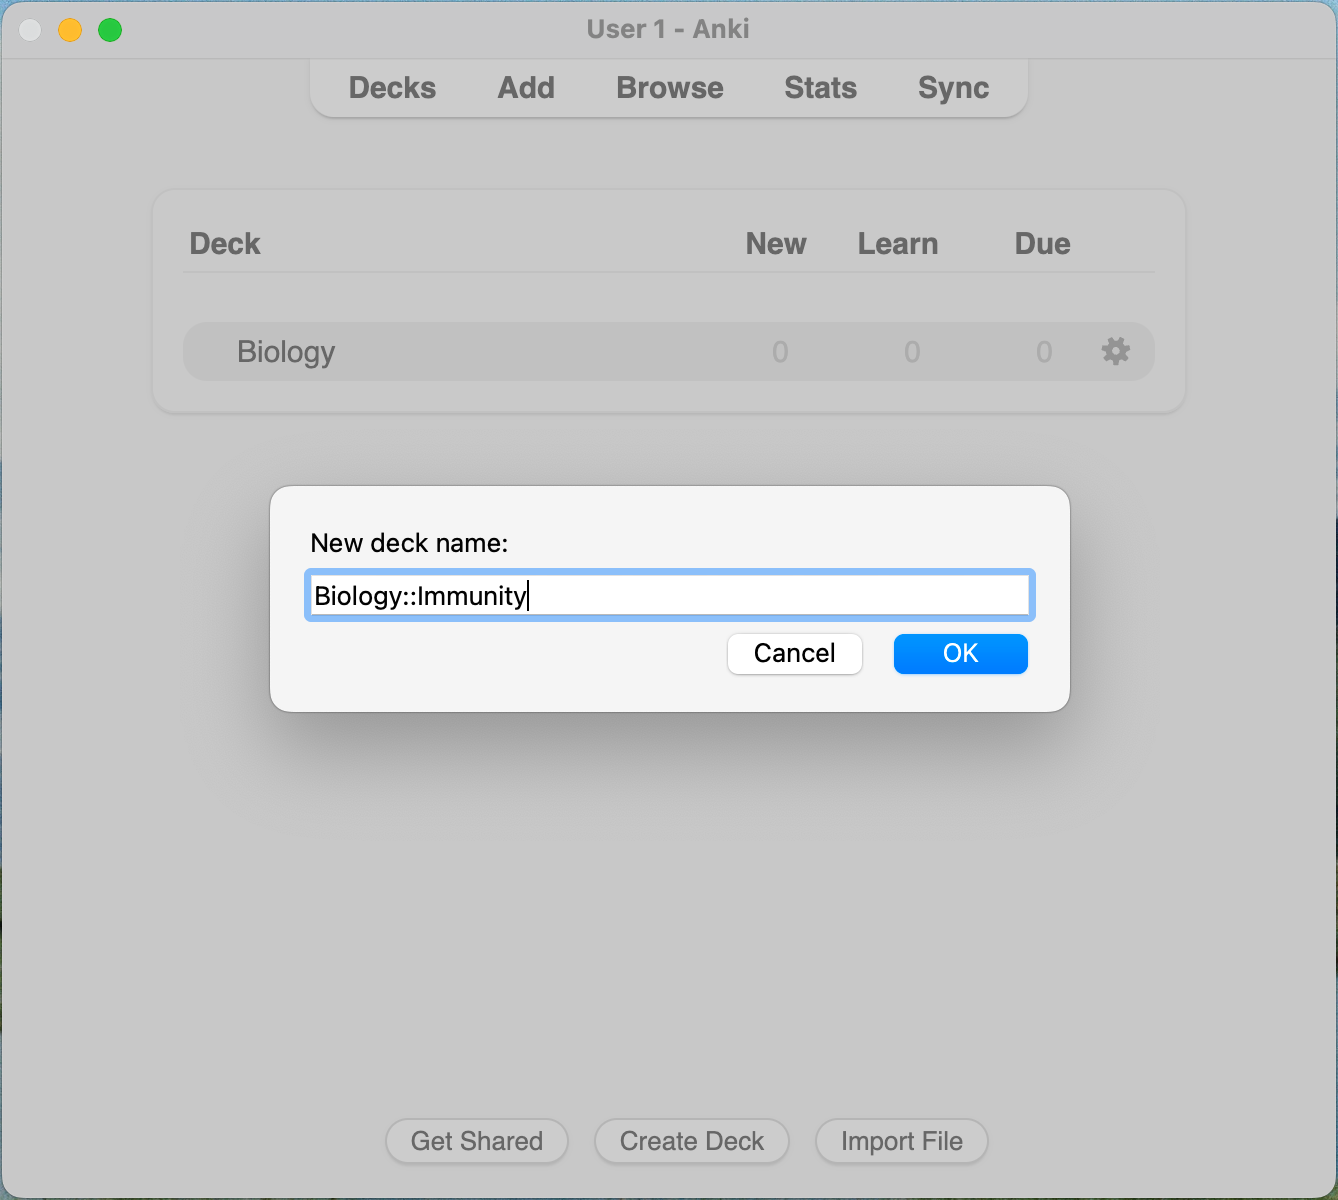
This is how your deck and sub-deck should look:

Make Cards
This is the fun part! Making basic cards is easy. All you need to do is click into your Deck, and then click ‘Add’:

You’ll get something that looks like this:

The ‘Front’ and ‘Back’ boxes represent the sides of your flashcard, so you can easily type in your question and answers. You can change the text colour, highlight etc. For instance:

What are some Useful Add-Ons?
There are some really useful Anki add-ons. Here’s an easy and super useful one to get you started!
Cloze Deletion
Cloze essentially allows you to fill in the blanks, which is super useful to be able to memorise specific quotes or phrases.

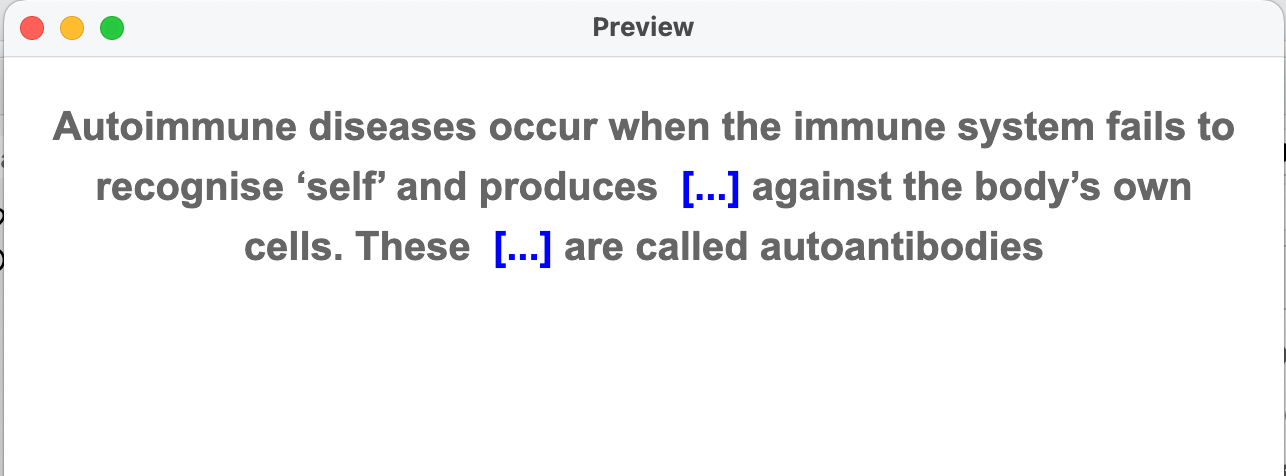
Here’s an example of what a Cloze card will look like:
“The ______ Revolution began in the mid-1760s and ended in _______”.
“The American Revolution began in the mid-1760s and ended in 1789”.
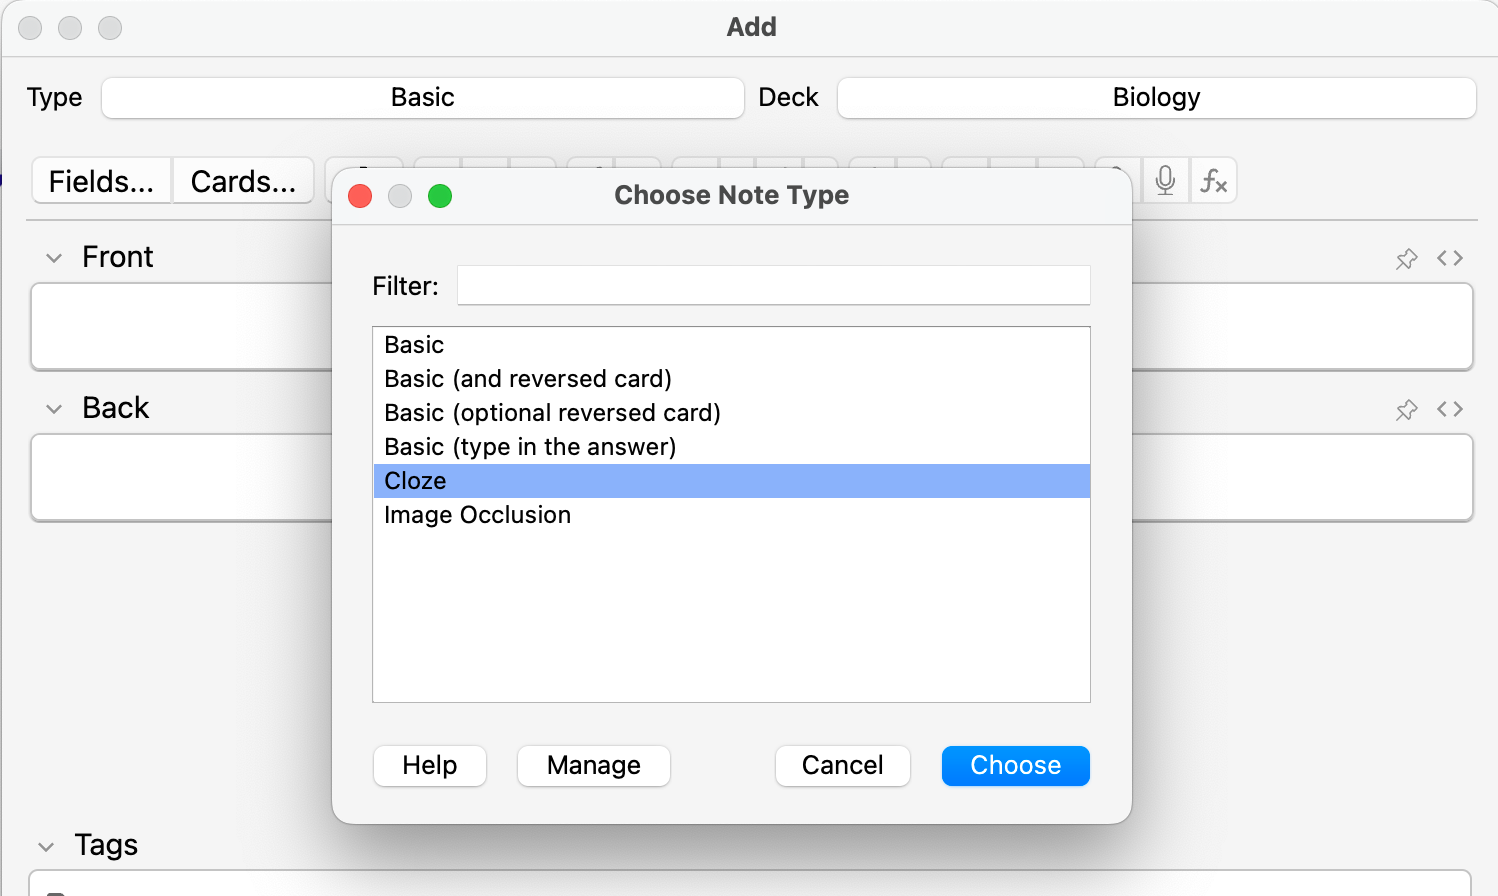
Here’s how to do it:
- "Add" card, and select the "types" button at the top of the window.

- Select the ‘Cloze’ type flashcard, and the blue "choose" button to confirm your selection. Your entire card will be typed into the ‘Text’ section.
- For each blank section, add {{c[number]::[word/phrase]}} around the information that you want to be tested on. If you’d like to be tested on each word individually, increase the number that comes after ‘c’.

This is what your flashcard will look like:
How to Start your study Session on Anki?
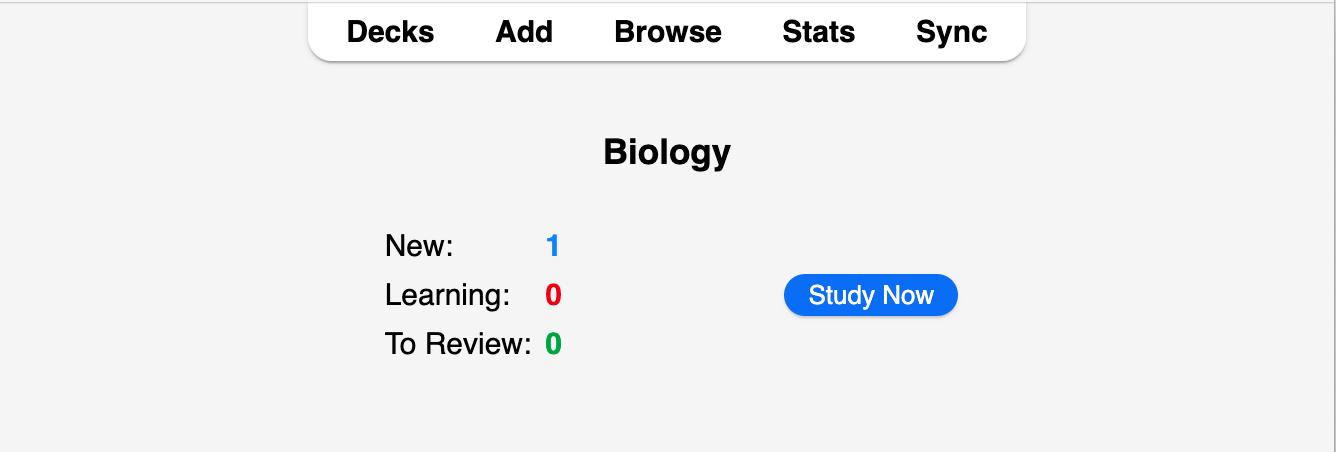
To use your flashcards, simply click on the deck you want to test yourself on, and then click ‘Study Now’:
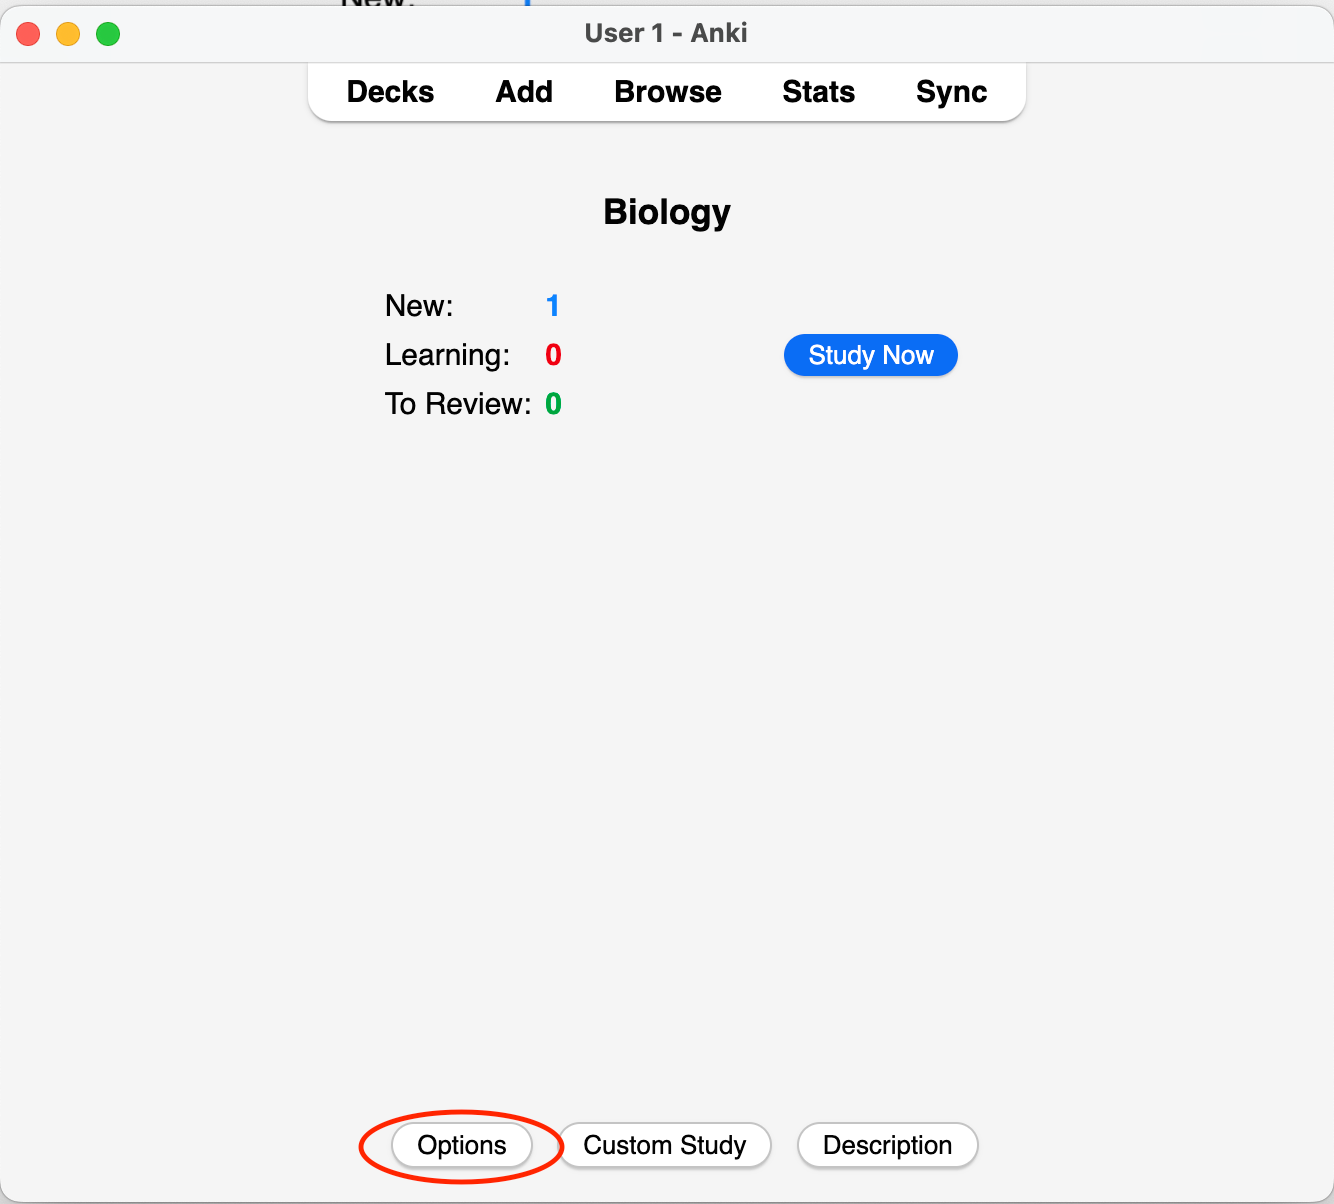
You can also adjust specific settings. If you click ‘Options’ at the bottom when you open up a deck, including how many new cards you want to see per day, you can edit it to suit your preference:
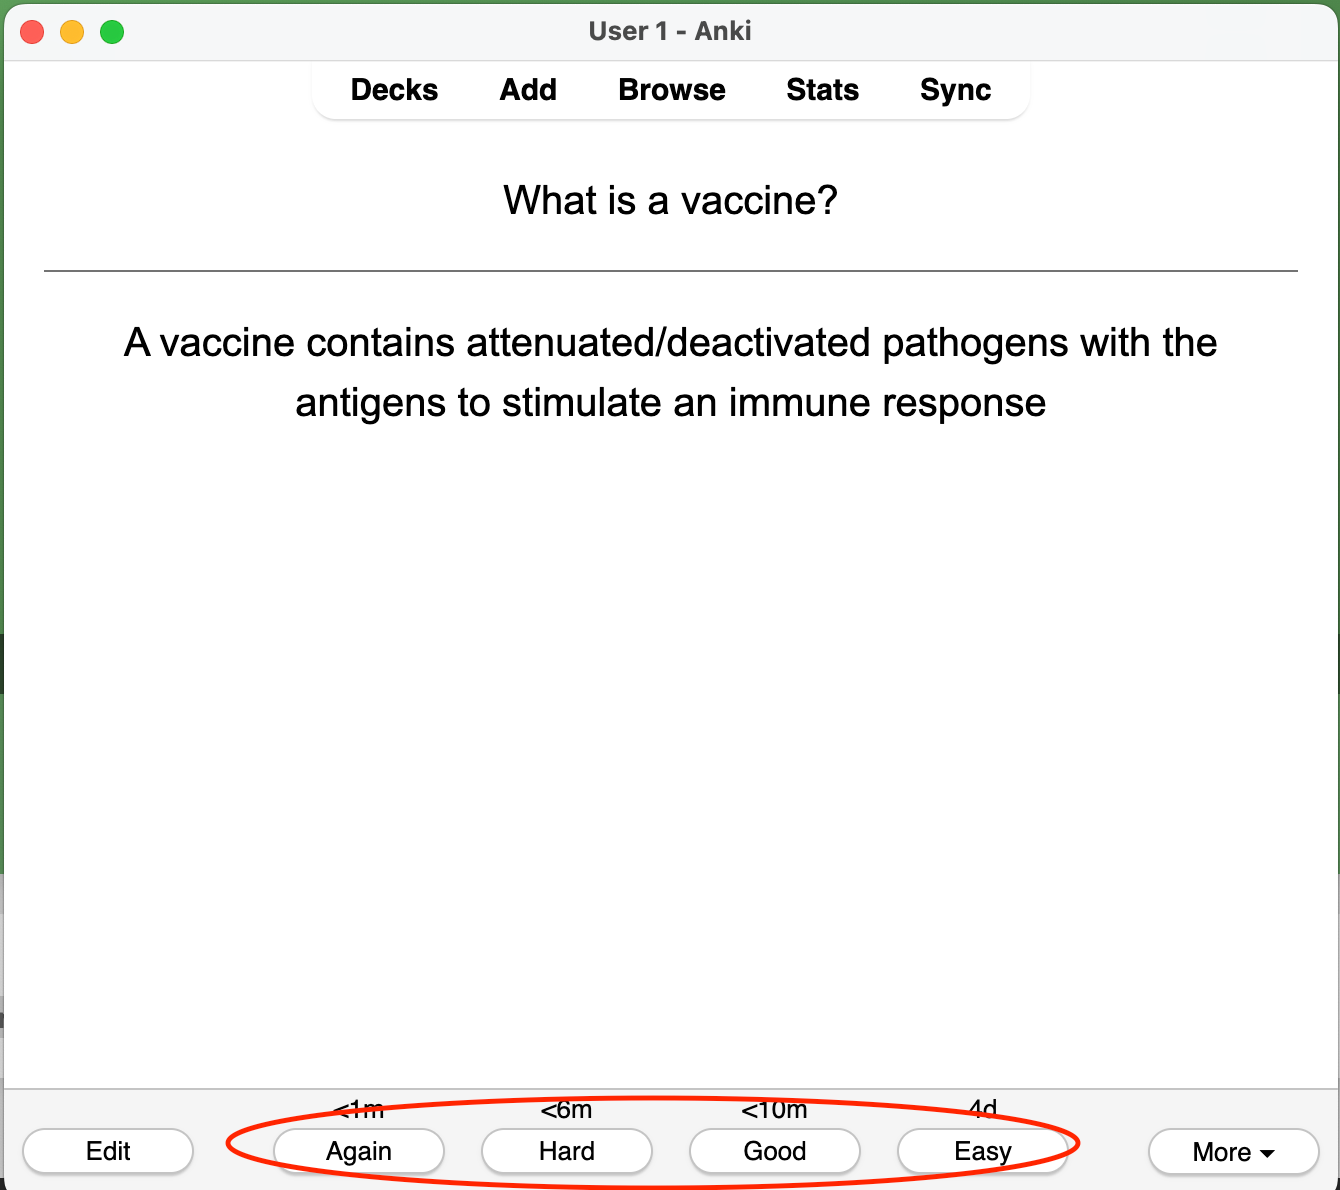
Once you’ve studied a card, be honest about how easy or difficult you found it, because that’ll impact the frequency with which you’re re-introduced to the card. You’ll be able to see this at the bottom of each completed flashcard:
Conclusion
Make sure to do your Anki cards regularly, because that’s the best way for you to actually reinforce the information that you’re hoping to remember. If you want insights into your Anki habits, this can be found under ‘Stats’ in the top bar.
If you need additional support to ensure you get the ATAR you want, a private tutor from KIS Academics can help:
For more resources, check out these KIS Academics articles:
 Jessica Hinh
 Manoj Arachige
 Jessica Hinh
FAQs
Are there other applications to help my studies?
Yes, there are other applications that are popular among students, like Quizlet and Forest. Check out our article here for more information.
Are there other guides on how to use Anki?
Given how unintuitive Anki is to most new users, yes, there are a few guides online, along with video tutorials for you to refer to!
How does Anki help with studying?
Using a flashcard to study ensures that you are doing active studying, moving your knowledge from just short-term to long-term retention. It also mimics testing, since you are essentially quizzing yourself whenever you use flahscards.
Of course, Anki is just one digital tool. You can make your own physical flashcards, or use other tools to make your flashcards; the study method and benefits remain the same.
How long should I study every day?
There is no magic number, the key is consistency. It is more beneficial to do 30 minutes of studying everyday, say three months before you exam, than cramming 4 hours of studying the day before your exam.
Find out how to build a sustainable study routine here.
Want personalised study guidance to help drastically improve your marks? A private tutor from KIS Academics can make the biggest difference!


